Summer’s Ultimate Hair Hack: Why the Bandana is Your Bestie This Season

Summer is officially here, which means we’re trading in our heavy coats for bikinis, beach days, and... endless battles with humidity. If your summer hair strategy is usually "throw it in a messy bun and pray," it’s time to level up.
Enter the humble bandana.
Not only does a bandana instantly add a cool, effortless vibe to any outfit, but it’s also the ultimate practical accessory. It keeps the sweat out of your face, tames unruly frizz, and—most importantly—acts as a stylish shield to protect your scalp from getting sunburned. No more painful, peeling parts after a day at the beach!
Before we dive into the styling and DIY secrets, check out our favorite summer-ready pieces to get you started:
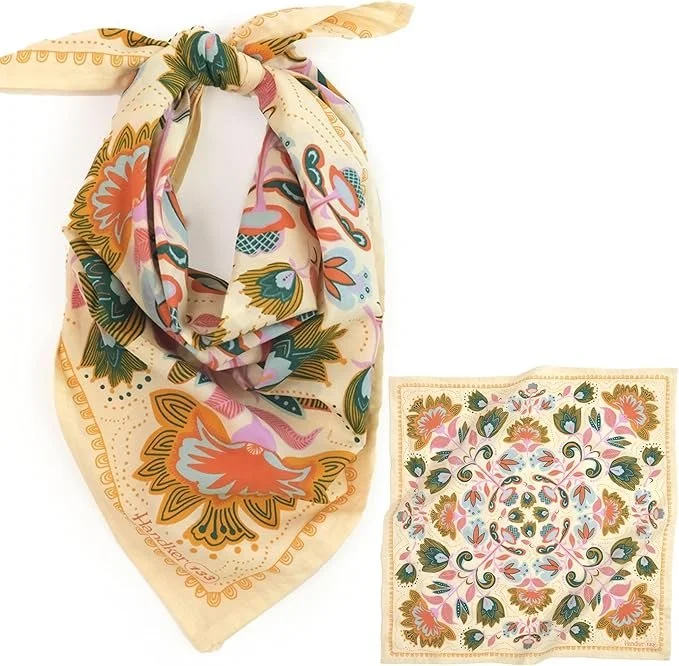
Shop Premium Cotton Bandanas – Classic, breathable, and available in every color imaginable.
Grab the Perfect Crochet Hook Set – Everything you need to craft your own custom hair accessories.
Explore Trendy Summer Outfits – Pair your new favorite headwear with the perfect seasonal look.
3 Quick Ways to Style Your Bandana
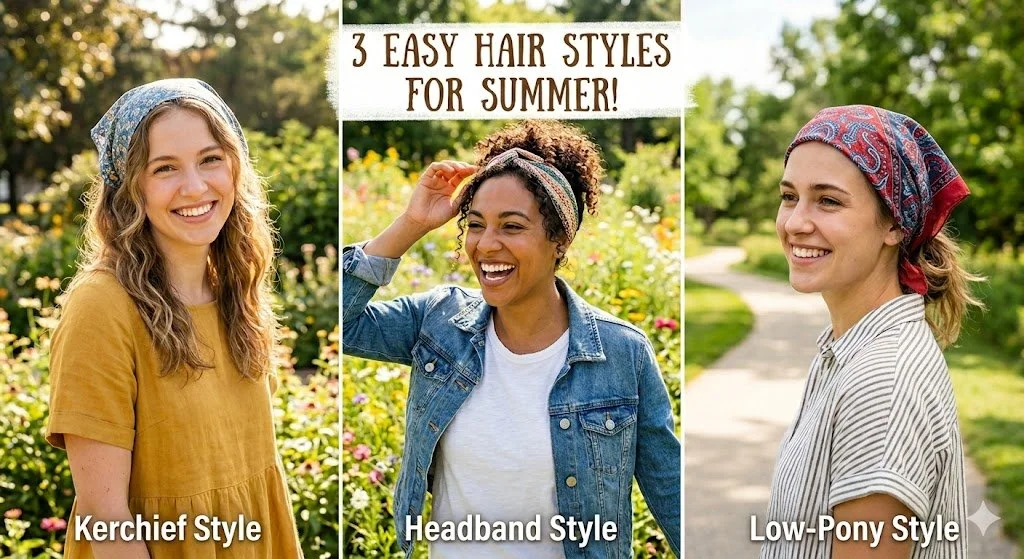
Whether you're running late for brunch or heading to a music festival, here are three foolproof ways to wear it:
1. The Classic Kerchief (The Frizz Fighter)
Fold your square bandana diagonally in half to form a triangle. Place the long edge across your hairline or forehead, and tie the two side corners together at the nape of your neck, underneath your hair. Let the third corner lay flat over the top of your head.
Why it rules: This covers the entire top of your head, offering maximum scalp protection against harsh UV rays.
2. The Headband Wrap (The Cool & Casual)
Fold the bandana into a triangle, then keep rolling or folding it from the tip to the long edge until you have a long, thick band. Wrap it around your head (either over your hair or underneath it like a traditional headband) and tie it securely.
Why it rules: It keeps your hair completely out of your eyes while you’re hiking, biking, or lounging by the pool.
3. The Low-Pony Accent (The Low-Effort Luxury)
Instead of putting the bandana on your head, use it to elevate a basic hairstyle. Tie your hair back into a low ponytail or a messy bun with a standard hair tie, then knot a folded bandana right over the top, letting the tails hang down beautifully.
Why it rules: It’s an instant outfit-elevator that takes exactly five seconds.
3 DIY Bandana Projects to Try This Weekend
Can't find the perfect pattern in stores? Make your own! Here are three fun ways to create a totally unique piece:
DIY 1: The Upcycled Graphic Tee Bandana
Have an old t-shirt you can’t bear to throw away? Cut out a perfect 20 inches by 20 inches square from the fabric. T-shirt knit fabric doesn't fray, so you don't even need to sew the edges! It’s stretchy, ultra-soft, and carries a cool vintage look.
DIY 2: The Boho Tie-Dye Masterpiece
Grab a plain white cotton bandana and a basic tie-dye kit. Twist the fabric into spirals, secure it with rubber bands, and douse it in your favorite summer shades (think pastel pinks, sunset oranges, or ocean blues). Rinse, wash, and boom—you have a custom festival accessory.
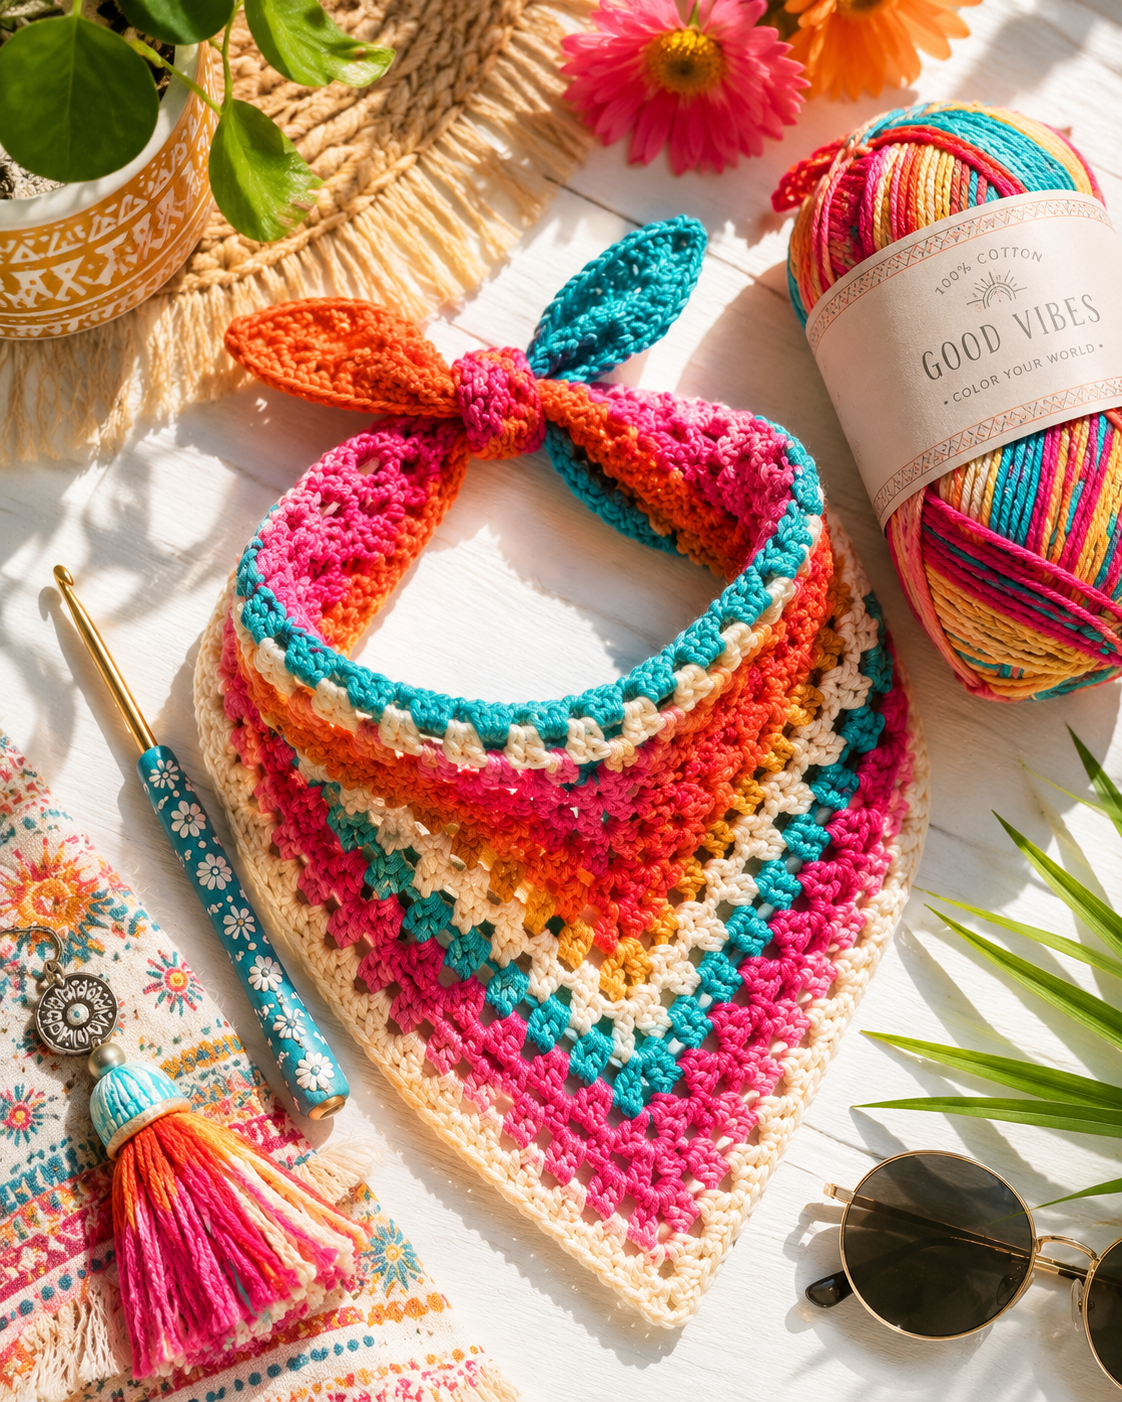
DIY 3: Beginner Friendly Crocheted Bandana
If you love a tactile, handmade look, this lightweight crochet kerchief is perfect for breezy summer days.
Materials Needed:
Lightweight (Size 3) cotton yarn
4.0mm (G) crochet hook
Yarn needle for weaving in ends
The Pattern
The Base
Row 1: Start with a slip knot. Chain 4 (counts as a double crochet + chain-1 space). Work 3 double crochets (1 granny cluster) into the 4th chain from your hook. Turn.
Row 2: Chain 3 (counts as a double crochet). Work 2 double crochets into the very first stitch (at the base of the chain 3). Chain 1, skip the next cluster, and work 3 double crochets into the top of the turning chain from the previous row. Turn.
Row 3: Chain 3. Work 2 double crochets into the first stitch base. Chain 1, work 3 double crochets into the next chain-1 space. Chain 1, skip to the end, and work 3 double crochets into the top of the turning chain. Turn.
Row 4: Chain 3. Work 2 double crochets into the first stitch base. Chain 1, work 3 double crochets into the next chain-1 space. Repeat from to across all spaces. Chain 1, and work 3 double crochets into the top of the final turning chain. Turn.
Sizing & Expansion
Repeat Row 4 to continue growing your triangle. Because you are adding an extra cluster at the beginning and end of every row, the piece will naturally expand into a wide triangle.
Keep repeating this row until the long edge of the bandana is wide enough to comfortably wrap around your head from ear to ear.
Straps & Optional Picot Border
Once your bandana is the perfect size, do not fasten off. You will immediately transition into making the first tie strap.
First Strap: Chain 50 (or your desired length for a tie). Turn, and slip stitch back down the chain until you reach the corner of the bandana body.
The Border (Optional Picots): Work your way along the top/side edges of the bandana to give it a finished look. To add the decorative picots as seen in the video:
Work single crochets or slip stitches along the edge.
Every few stitches (or at regular intervals in the spaces), Chain 3 and slip stitch into the first chain to create a small picot bump, then continue across the edge.
Second Strap: Once you reach the opposite far corner of the bandana, Chain 50 (matching your first strap length). Turn, and slip stitch back down the chain to the body.
Finishing Up
Fasten off your yarn, grab a darning needle, and weave in your loose ends to secure your project!
💡 Looking for the exact stitch counts? You can follow along with the complete step-by-step written guide directly on the VivCrochets youtube page.
Whether you buy it, dye it, or stitch it yourself, the bandana is bound to be your MVP this summer. It's affordable, incredibly functional, and keeps you looking effortlessly chic even when the thermometer hits 90 degrees.
What’s your go-to summer hair hack? Let us know in the comments below!