5 Reasons I’m Obsessed With My KitchenAid Artisan Stand Mixer
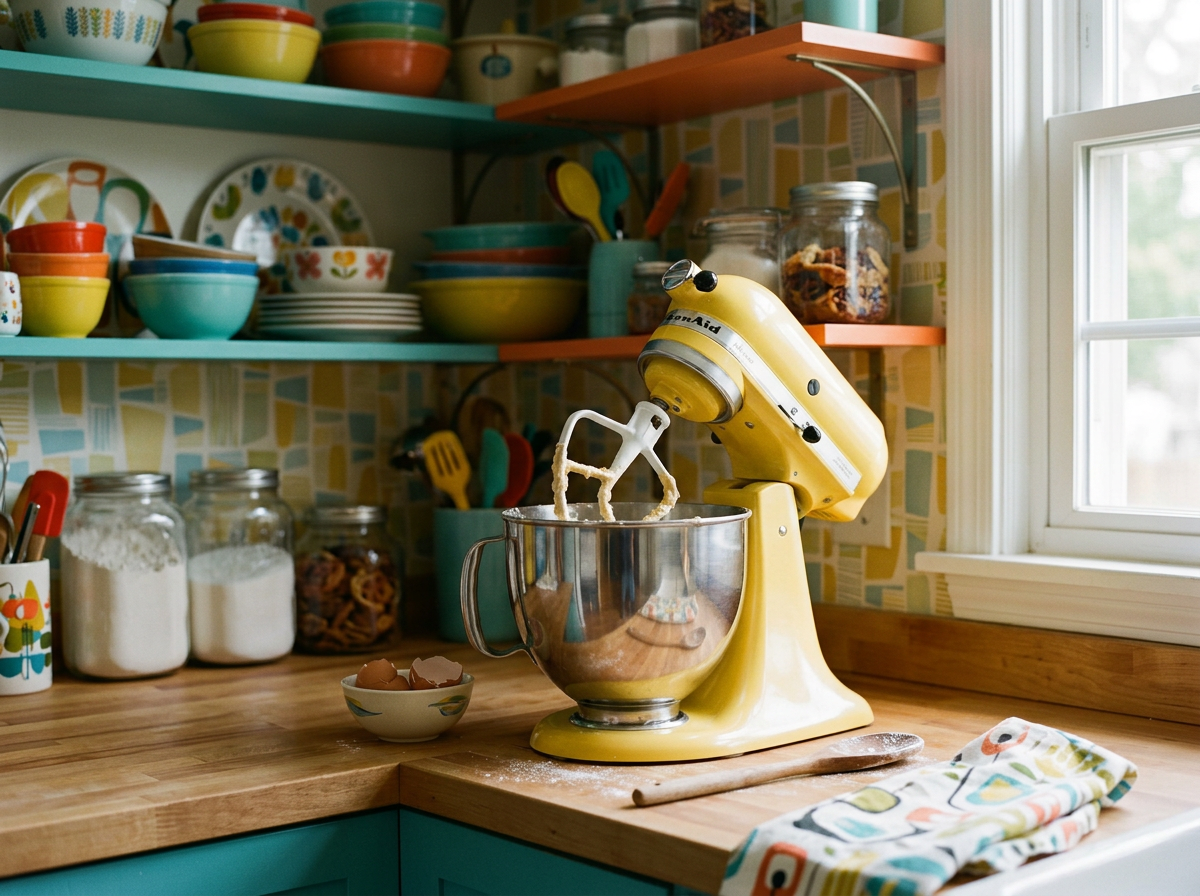
👉 Check out the KitchenAid Artisan 5-Qt Tilt-Head Stand Mixer
Let me just say this right now:
I did not buy my KitchenAid Artisan 5-Qt Tilt-Head Stand Mixer because I needed another appliance.
I bought it because apparently I enjoy spending money on things that take up valuable counter space.
But here's the thing...
I LOVE THIS THING.
Like, "If there were a fire, I'd probably grab my family, my dog, and then seriously consider grabbing the KitchenAid" love.
It has become one of those kitchen appliances that makes me wonder how I survived without it.
And no, I don't use it every single day.
But when I need it?
Oh, she shows up.
Whether I'm making cookies for a school event, kneading pizza dough, whipping frosting, or pretending I'm the kind of person who casually makes homemade bread on a Tuesday afternoon, my KitchenAid is there.
So here are my 5 completely biased but totally justified reasons I love my KitchenAid Artisan 5-Qt Stand Mixer—plus five recipes that actually put this beautiful countertop beast to work.
1. It Does the Hard Work So I Don't Have To
Let's start with the obvious.
I am perfectly capable of mixing things by hand.
I am also perfectly capable of walking to work instead of driving.
That doesn't mean I want to.
There are some recipes where your arm starts questioning all of your life choices.
Cookie dough?
Fine.
Bread dough?
That's where I draw the line.
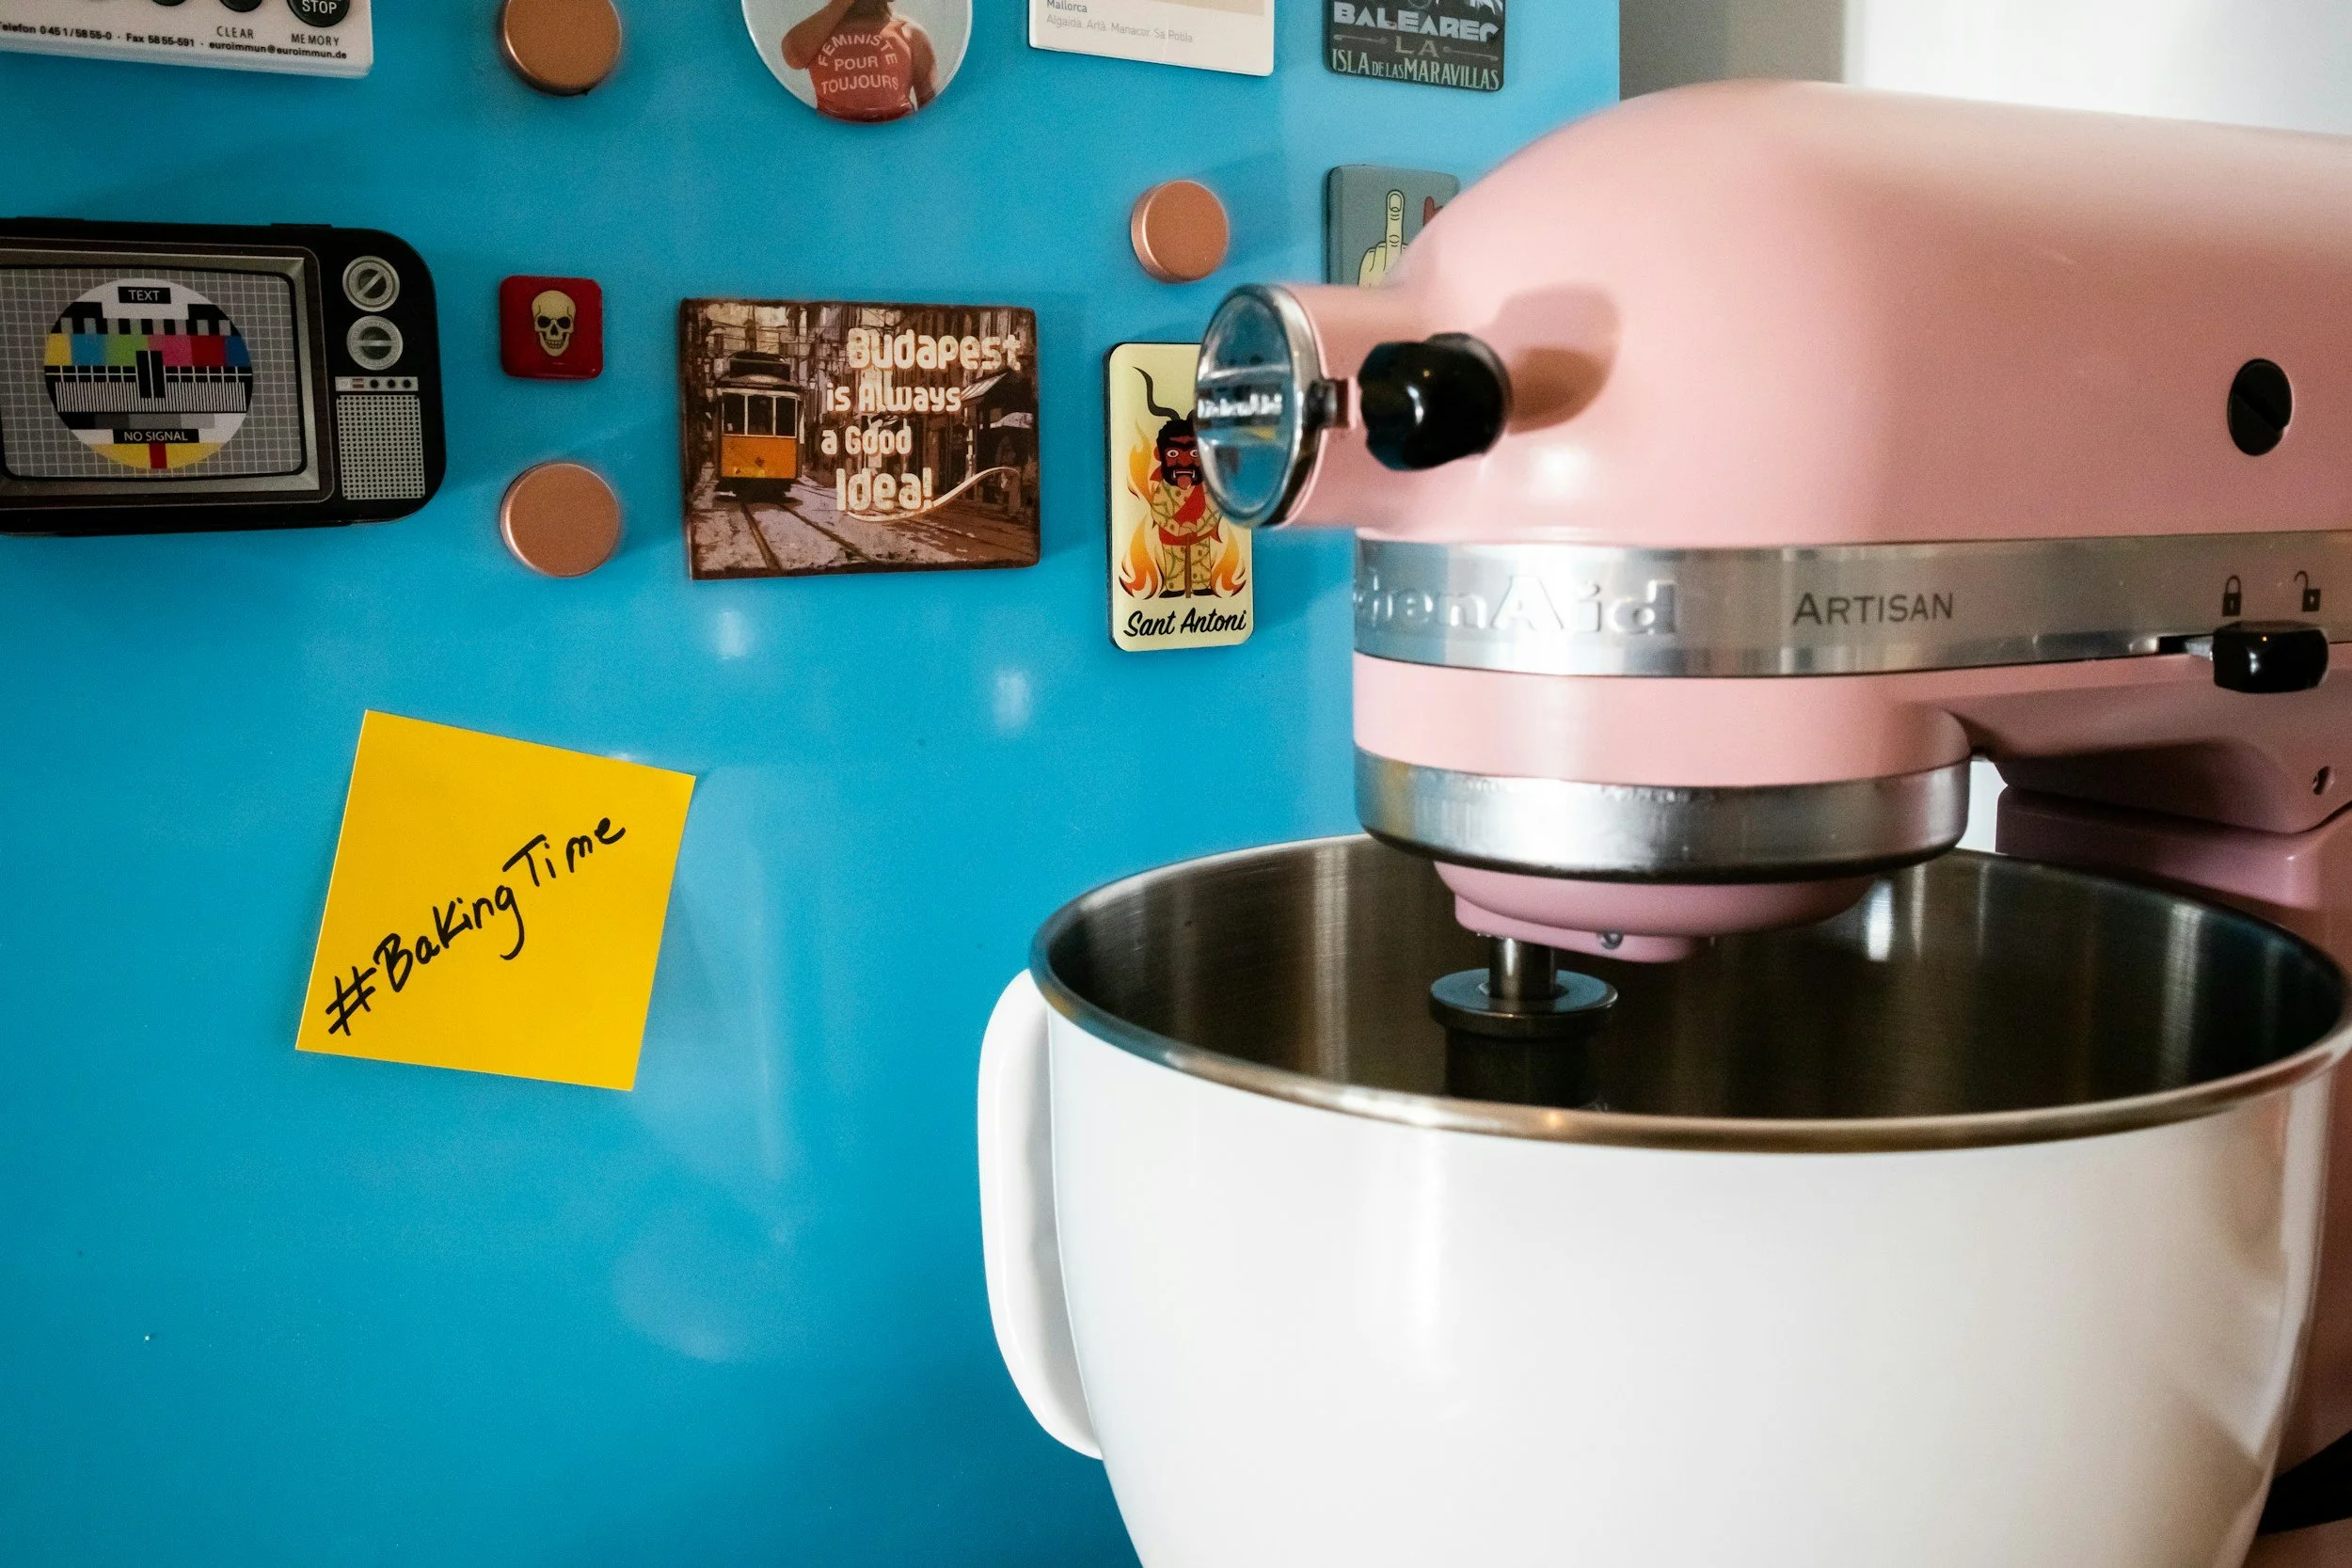
The KitchenAid does the kneading while I stand there drinking coffee and taking credit for the whole thing.
It's basically my unpaid kitchen assistant.
And unlike some assistants, it doesn't complain.
🍕 Easy Homemade Pizza Dough
This is one of my favorite things to make with the dough hook because the mixer does the kneading for you.
Ingredients
1 cup warm water
2¼ teaspoons active dry yeast
1 tablespoon honey
2½ cups all-purpose flour
1 teaspoon salt
2 tablespoons olive oil
Directions
Add warm water, yeast, and honey to the mixer bowl. Let sit for about 5–10 minutes until foamy.
Add flour, salt, and olive oil.
Using the dough hook, mix on low speed until the dough comes together.
Increase slightly and knead for about 5–7 minutes, until the dough is smooth and elastic.
Place the dough in a lightly oiled bowl, cover, and let rise for about 1 hour.
Divide into two portions.
Roll or stretch into pizza crusts.
Add your favorite toppings.
Bake at 475°F for approximately 10–15 minutes, depending on the thickness of your crust and toppings.
KitchenAid confession:
I used to think making homemade pizza dough sounded like a whole thing.
Now I'm like, "Oh, I'll just make pizza dough."
Look at me.
Who am I?
2. It Makes Cookies Without Turning My Kitchen Into a CrossFit Class
There is a very specific moment when you're making cookie dough by hand and your butter is fighting you.
You stir.
You scrape.
You stir again.
Your arm gets tired.
You start wondering if cookies are even worth it.
They are.
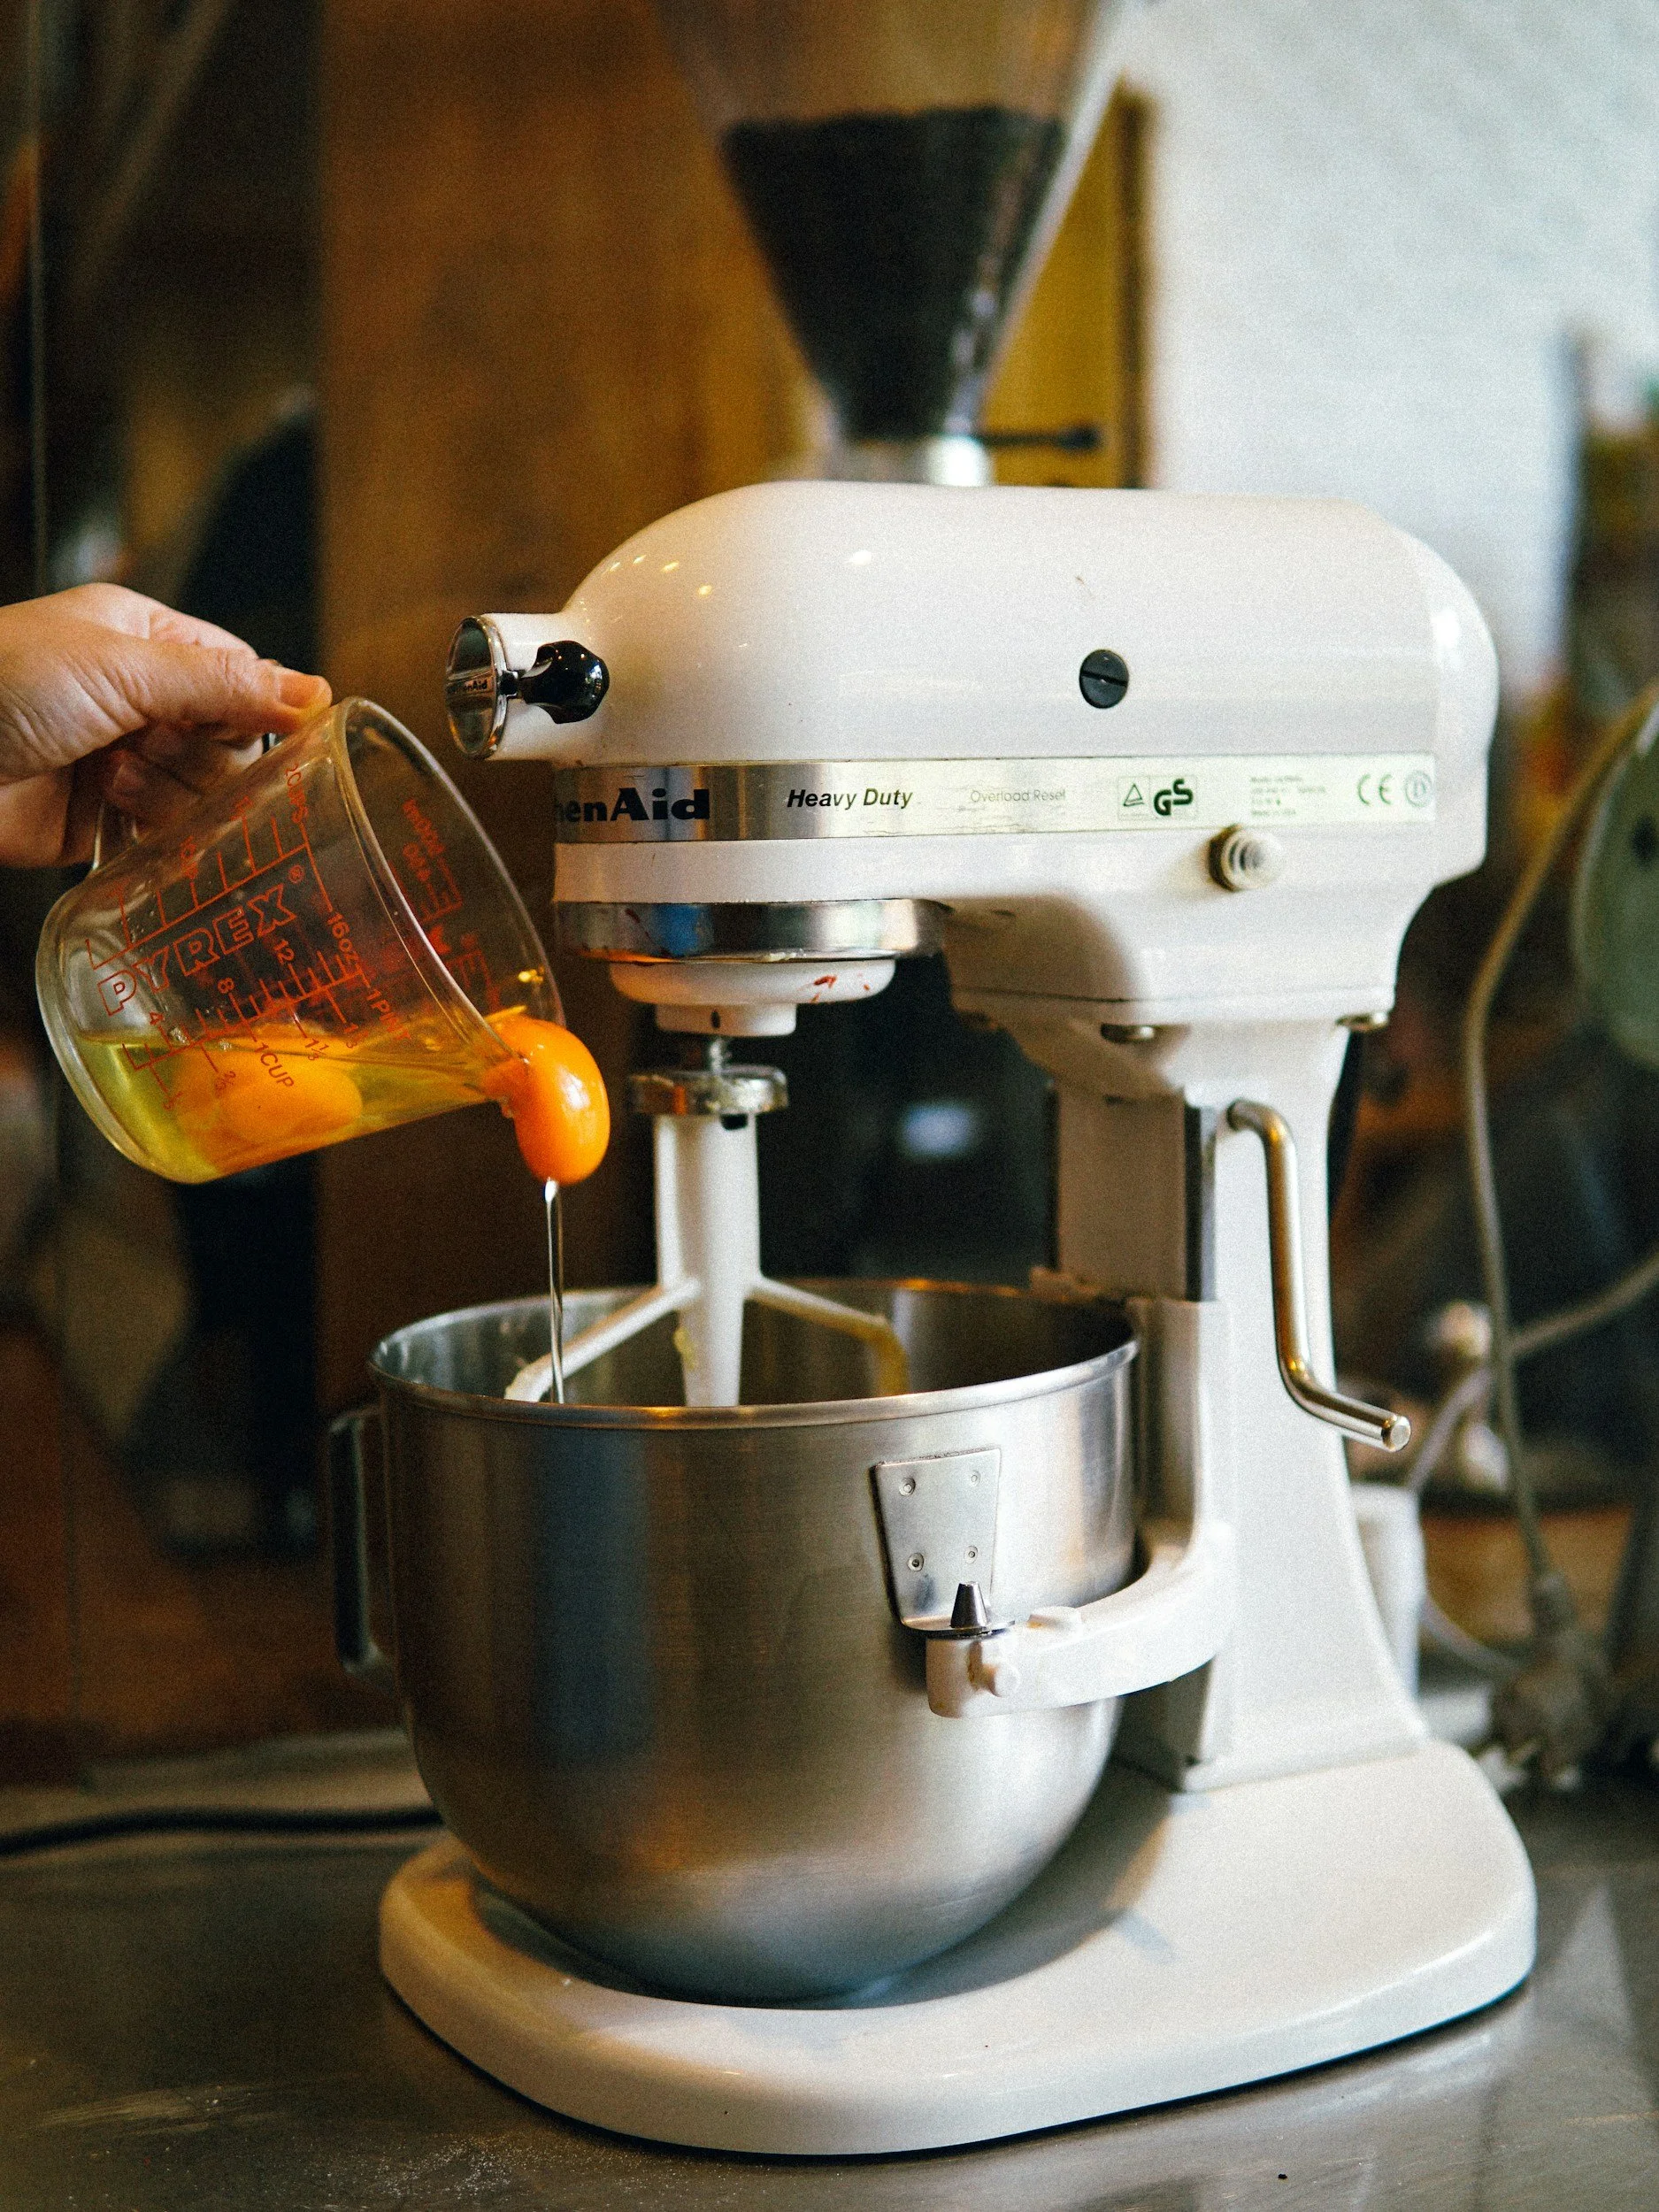
The paddle attachment makes creaming butter and sugar ridiculously easy.
And that means I can make cookies while conserving my precious energy for the important things.
Like eating cookies.
🍪 My Go-To Chocolate Chip Cookies
Ingredients
1 cup unsalted butter, softened
¾ cup granulated sugar
¾ cup packed brown sugar
2 large eggs
2 teaspoons vanilla extract
2¾ cups all-purpose flour
1 teaspoon baking soda
1 teaspoon salt
2 cups semi-sweet chocolate chips
Directions
Preheat oven to 375°F.
Add softened butter, granulated sugar, and brown sugar to the mixer bowl.
Using the paddle attachment, cream together until light and fluffy, about 2–3 minutes.
Add eggs one at a time, mixing after each addition.
Mix in vanilla.
In a separate bowl, whisk together flour, baking soda, and salt.
Gradually add the dry ingredients to the mixer on low speed.
Mix just until combined.
Stir in chocolate chips.
Scoop dough onto parchment-lined baking sheets.
Bake for 9–11 minutes, until the edges are lightly golden.
Let them cool on the baking sheet for a few minutes before moving them.
Important cookie rule:
Do not overmix once the flour goes in.
We're making cookies—not gluten development.
3. It Makes Homemade Frosting Feel Fancy When It Is Actually Ridiculously Easy
Have you ever looked at a beautifully decorated cake and thought:
"There is absolutely no way I'm making that."
Same.
Then I bought a stand mixer.
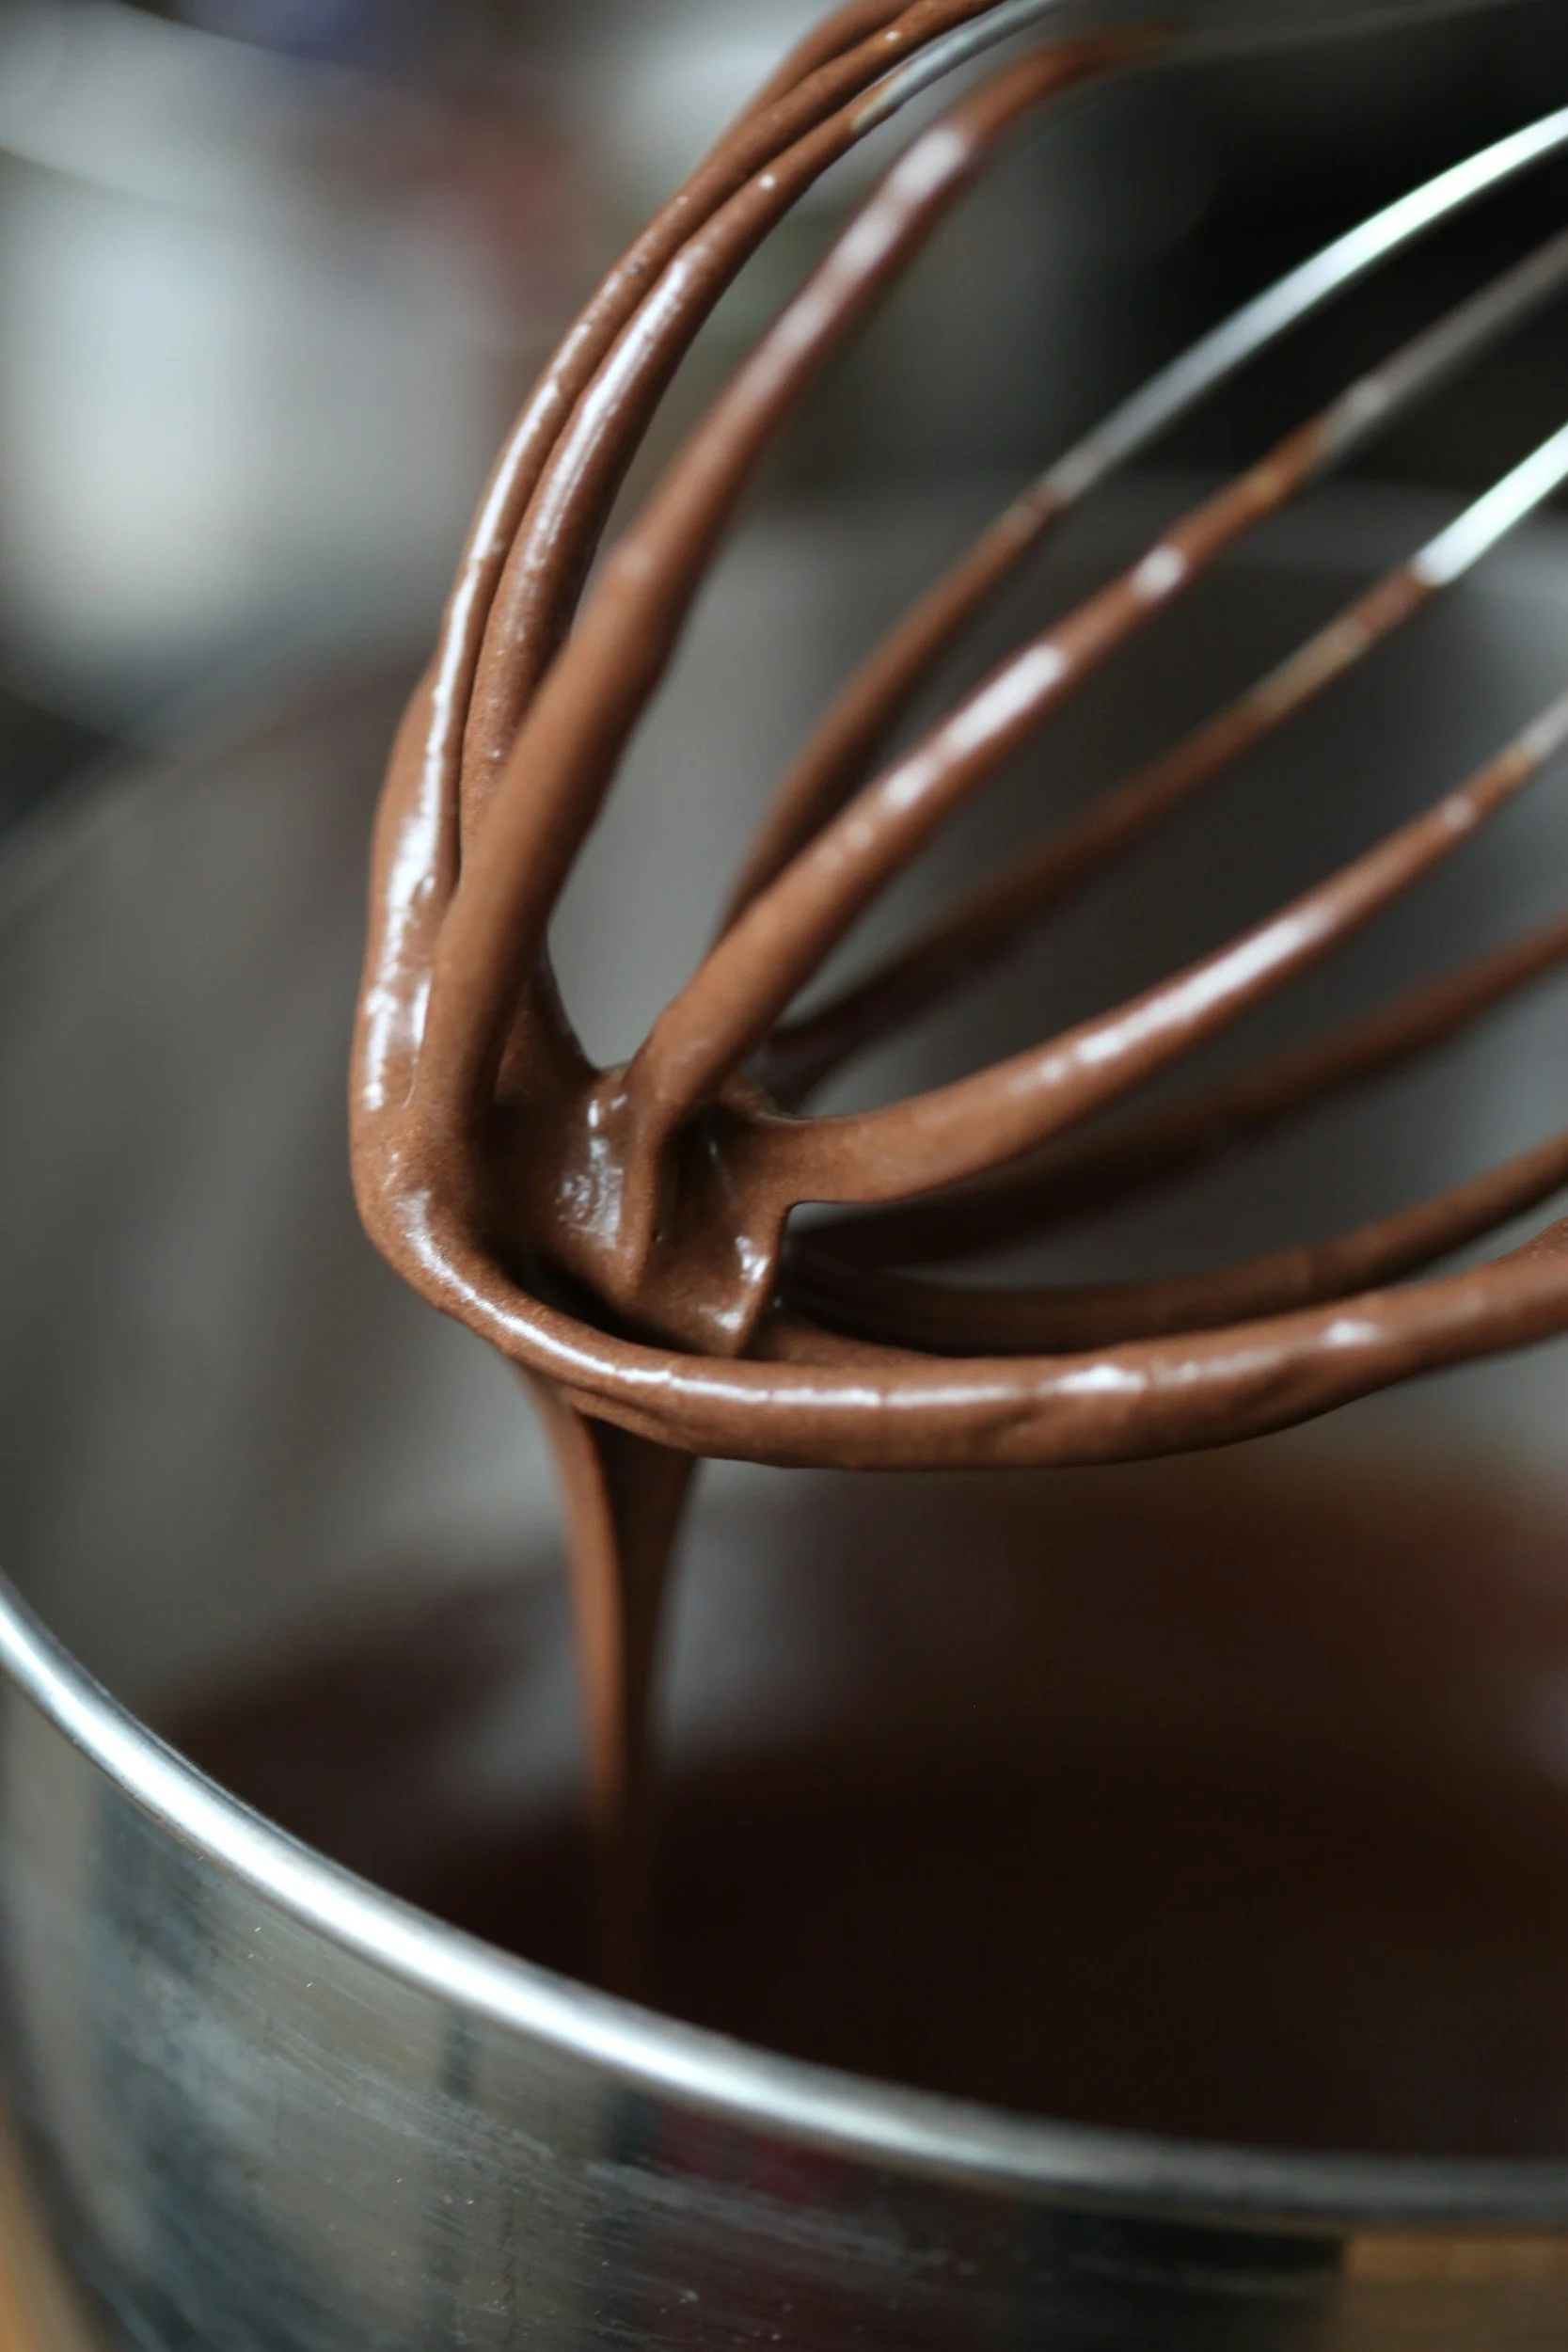
Suddenly I'm whipping butter, adding powdered sugar, and piping frosting onto cupcakes like I have a tiny bakery hidden in my kitchen.
The secret?
The mixer makes frosting look much harder than it actually is.
🧁 Easy Vanilla Buttercream
Ingredients
1 cup unsalted butter, softened
4 cups powdered sugar
2 teaspoons vanilla extract
2–4 tablespoons milk or heavy cream
Pinch of salt
Directions
Add softened butter to the mixer bowl.
Beat with the paddle attachment for about 2–3 minutes until creamy and lighter in color.
Gradually add powdered sugar on low speed.
Add vanilla and salt.
Add milk or cream, one tablespoon at a time, until you reach your desired consistency.
Increase speed and beat for another 2–3 minutes until fluffy.
That's it.
You just made buttercream.
Put it in a piping bag and suddenly everyone thinks you know what you're doing.
I recommend allowing them to continue believing this.
4. It Makes Baking for a Crowd SO Much Easier
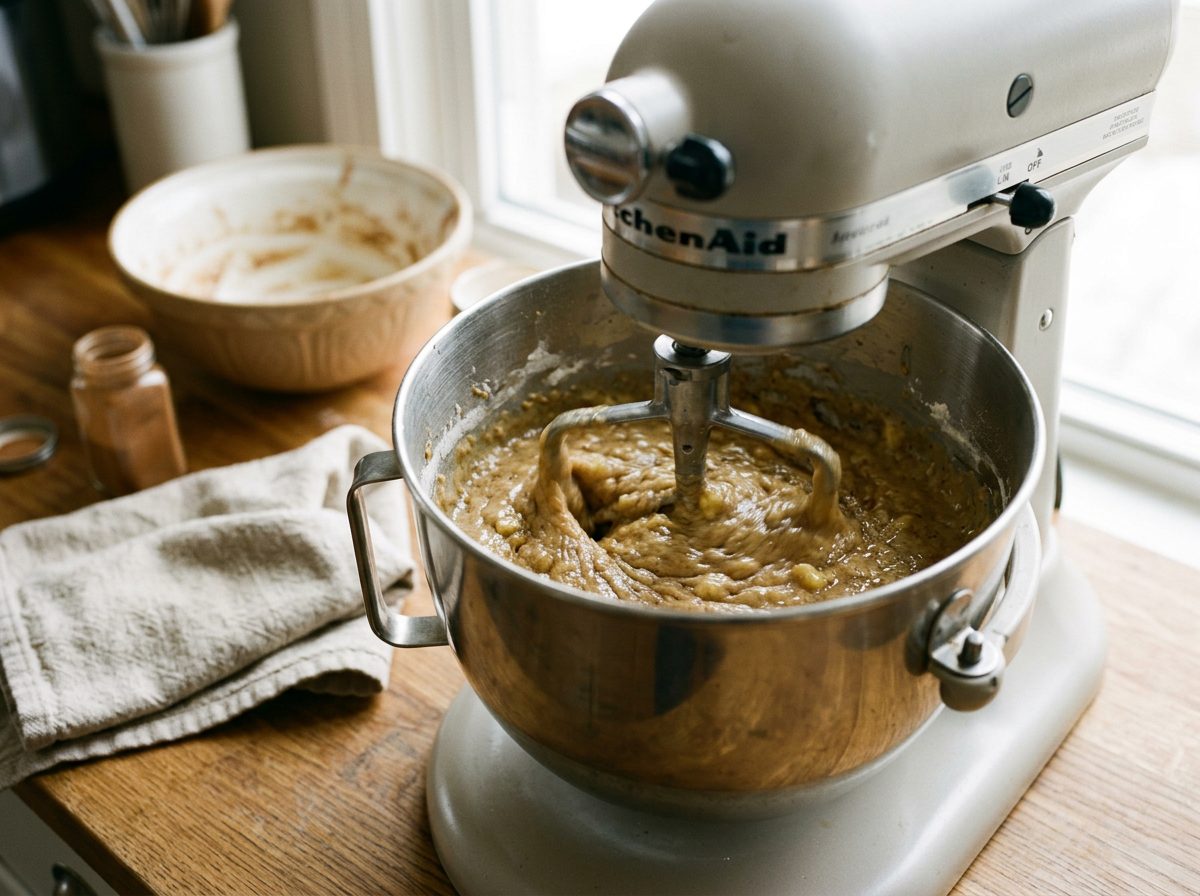
This is where my KitchenAid really earns its counter space.
If you're baking for a birthday party, holiday, school event, family gathering, or that one person who says:
"Don't worry, I'll bring dessert!"
and then realizes they actually volunteered to make dessert for 25 people...
You need a stand mixer.
Because making multiple batches of something by hand is exhausting.
And nobody needs that kind of negativity in their life.
🍌 Seriously Good Banana Bread
This is a great recipe when those bananas on your counter have reached the point where they're basically begging for a second chance.
Ingredients
½ cup unsalted butter, softened
¾ cup granulated sugar
2 large eggs
1 teaspoon vanilla
3 very ripe bananas, mashed
1½ cups all-purpose flour
1 teaspoon baking soda
½ teaspoon salt
½ teaspoon cinnamon
½ cup chopped walnuts or chocolate chips, optional
Directions
Preheat oven to 350°F.
Grease a 9×5-inch loaf pan.
Using the paddle attachment, cream butter and sugar together until light and fluffy.
Add eggs one at a time.
Mix in vanilla.
Add mashed bananas and mix until combined.
In a separate bowl, whisk together flour, baking soda, salt, and cinnamon.
Add dry ingredients to the mixer.
Mix on low just until combined.
Fold in walnuts or chocolate chips if using.
Pour into prepared loaf pan.
Bake for approximately 50–60 minutes, or until a toothpick inserted into the center comes out mostly clean.
Let cool before slicing.
And here's my favorite part:
You don't need perfect bananas.
You need ugly bananas.
The uglier, the better.
That sad, brown-speckled banana that nobody wants to eat?
She's the star of the show now.
5. It Makes Me Feel Like I Have My Life Together
This might be my most important reason.
Because there is something about putting the bowl on the mixer, attaching the paddle, measuring ingredients, and watching everything come together that makes me feel like a person who has things figured out.
Even if...
There are three loads of laundry sitting on the couch.
My kitchen counter is covered in random stuff.
I have 47 tabs open on my computer.
I forgot what I walked into the kitchen for.
There is a crochet project sitting next to the mixer.
The KitchenAid says:
"Don't worry. We've got this."
And honestly?
I appreciate the emotional support.
🥔 Creamy Garlic Mashed Potatoes
Yes, your stand mixer can make mashed potatoes.
And yes, they're ridiculously good.
Ingredients
3 pounds Yukon Gold potatoes, peeled and cut into chunks
4 tablespoons butter
½–¾ cup warm milk or half-and-half
2 cloves garlic, minced or roasted
1 teaspoon salt
½ teaspoon black pepper
¼ cup sour cream, optional
Directions
Place potatoes in a large pot and cover with cold water.
Add a generous pinch of salt.
Bring to a boil and cook until potatoes are fork-tender, about 15–20 minutes.
Drain thoroughly.
Add hot potatoes to the mixer bowl.
Attach the flat beater.
Mix on low speed briefly to break up the potatoes.
Add butter, warm milk, garlic, salt, pepper, and sour cream if using.
Mix just until creamy.
Do NOT overmix.
Nobody wants mashed potatoes with the texture of wallpaper paste.
We want creamy.
We want fluffy.
We want "Oh my gosh, who made these?"
So...Do You Actually Need a KitchenAid?
Need?
Probably not.
Want?
Absolutely.
Could you make all five of these recipes without one?
Yep.
Would your grandmother probably tell you that she managed just fine with a wooden spoon and some elbow grease?
Also yep.
But here's the thing.
I don't buy kitchen equipment because I need to make something possible.
I buy it because I want cooking and baking to be more fun.
And that's exactly what my KitchenAid does.
It saves my arms.
It makes baking easier.
It handles dough.
It makes frosting ridiculously simple.
It helps me make food for a crowd.
And, perhaps most importantly, it makes me feel like I have my life together even when I very clearly do not.
That's a pretty good return on counter space.
🍪 The KitchenAid Test
If you're thinking about getting a stand mixer, here's my unofficial test:
Make the pizza dough.
Then make the cookies.
Then make the frosting.
Then make mashed potatoes.
Then look at your mixer sitting there on the counter and realize...
"Ohhhhhh. I get it now."
Welcome to the KitchenAid club.
Your arms will thank you.
Your family will thank you.
Your cookies will DEFINITELY thank you.
And your counter?
Well...
Your counter can deal with it.
Pin This For Later 📌
5 Reasons I Love My KitchenAid Stand Mixer + 5 Recipes That Actually Work
Save this post for the next time you pull out your KitchenAid and think:
"Okay...what should I make with this thing?"
Start with the cookies.
Obviously.
🛒 Want Your Own KitchenAid?
Okay, if I've successfully convinced you that your kitchen needs a beautiful little countertop workhorse of its own, you can check out the KitchenAid Artisan Series 5-Qt Tilt-Head Stand Mixer here:
👉 Check out the KitchenAid Artisan 5-Qt Tilt-Head Stand Mixer
The 5-quart bowl gives you plenty of room for everyday baking, the tilt-head makes it easy to add ingredients, and it has 10 speeds for everything from gentle mixing to whipping and kneading. And yes, it comes in a ridiculous number of gorgeous colors, because apparently KitchenAid understands that appliances should have personalities too.
My advice?
Pick a color you LOVE.
Because if you're going to give up precious counter space, that mixer better look cute sitting there.
💕 Affiliate Disclosure
This post contains affiliate links. That means if you click a link and make a purchase, I may earn a small commission at no additional cost to you.
I only recommend products I genuinely use, love, or believe would be helpful to my readers. In this case, my KitchenAid has earned its spot on my counter—and apparently in this blog post too. 😂
Your support through these links helps me continue creating recipes, kitchen tips, crochet projects, wellness content, and other fun things for you to enjoy.
Thank you for supporting my little corner of the internet! 💕